
Gluten-Free Flour Tortillas
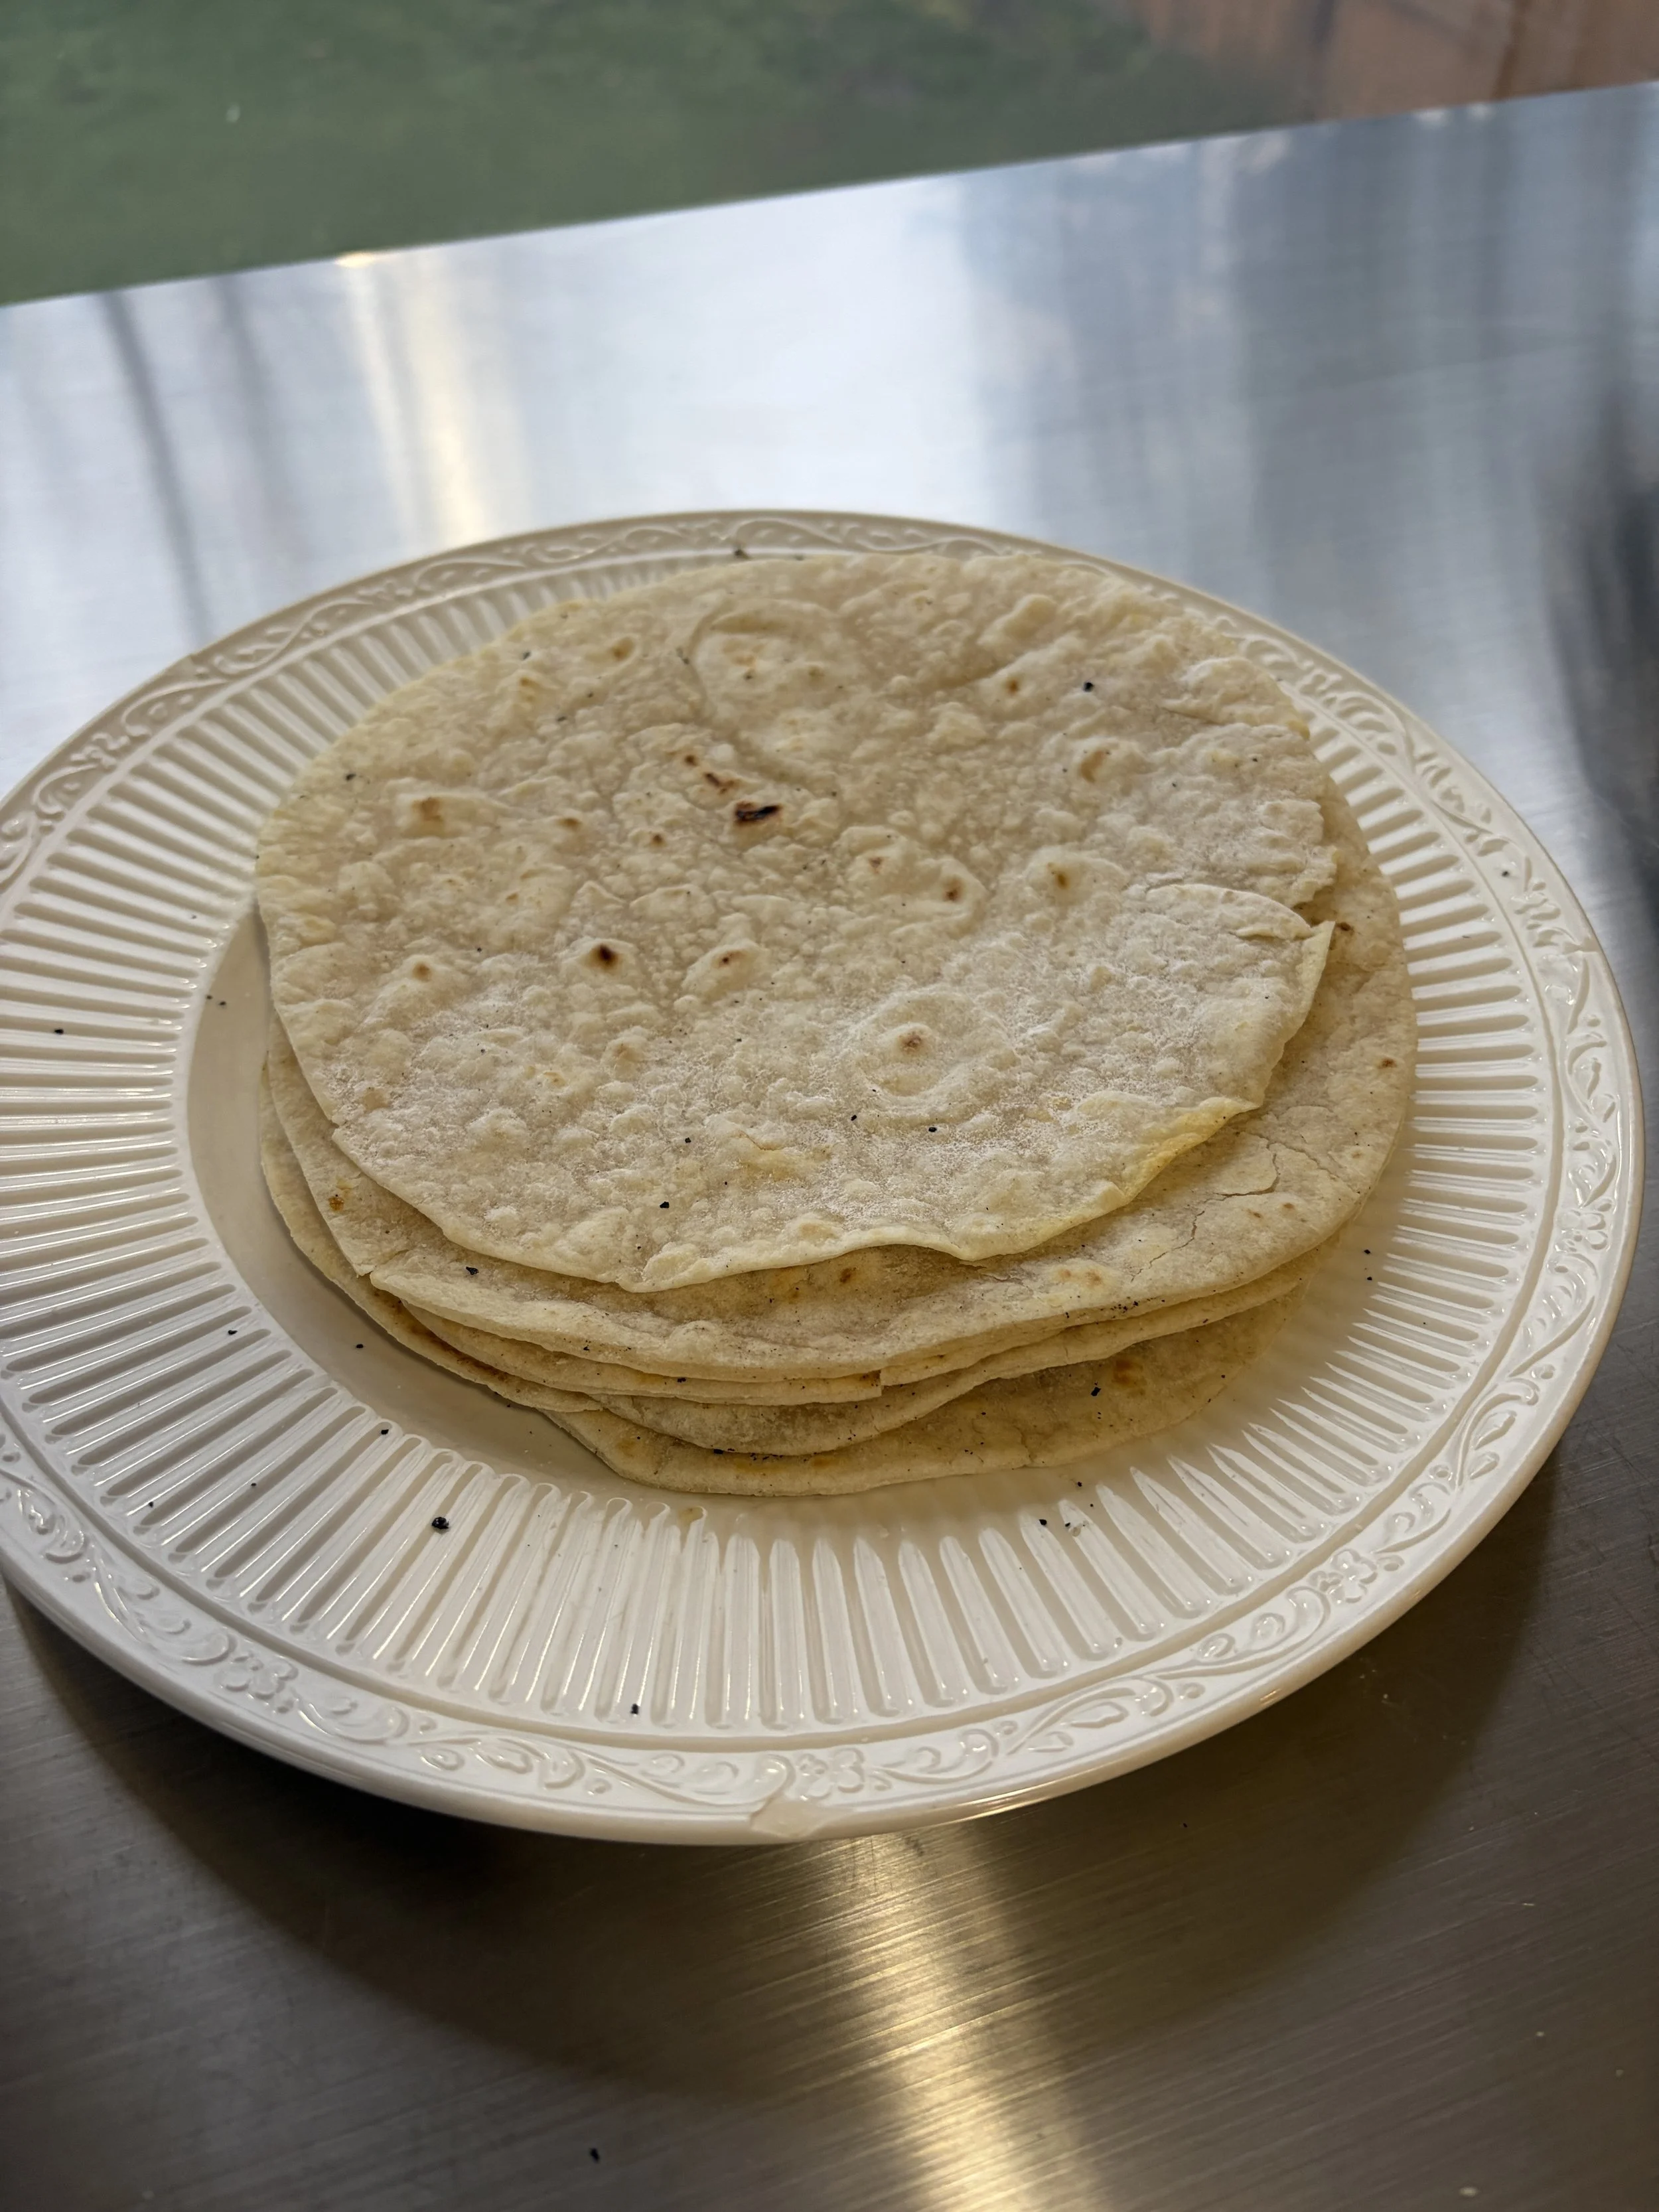
Gluten-Free Flour Tortillas (Soft + Flexible)
Soft, flexible homemade gluten-free tortillas rolled out thin and made with pantry staples. To get the best texture, I use Bob’s Red Mill 1:1 Gluten Free Baking Flour, tapioca starch, and avocado oil shortening.
If you’ve been wanting a reliable gluten-free tortilla recipe for tacos, wraps, or quesadillas, this one is a great staple to keep in your back pocket. These turn out soft and pliable when the dough is rested and rolled thin.
For the best texture, I used Bob’s Red Mill 1:1 Gluten Free Baking Flour, tapioca starch, and Chosen Foods Avocado Oil Shortening.
I also used a cake pan to help measure the circles and a pizza cutter to cut them out, which makes shaping super simple.
Affiliate Disclosure: This post may contain affiliate links, which means I may earn a small commission (at no extra cost to you) if you shop through them. I only share tools and ingredients I actually use and love.
Ingredients
- 1 1/2 cups (210g) all-purpose gluten-free flour blend (I used Bob’s Red Mill 1:1 Gluten Free Baking Flour)
- 1/2 teaspoon xanthan gum (Bob's Red Mill 1:1 already has xanthum gum but needs the extra addition for this recipe)
- 2/3 cup (80g) tapioca starch, plus more for dusting
- 1 1/2 teaspoons baking powder
- 1 teaspoon kosher salt
- 4 tablespoons (48g) Chosen Foods Avocado Oil Shortening
- 3/4 cup (6 ounces) warm water
Instructions
1. Mix the dry ingredients. In a large bowl, whisk together the gluten-free flour blend, xanthan gum, tapioca starch, baking powder, and salt until evenly combined.
2. Cut in the shortening. Add the avocado oil shortening and toss to coat. Use a fork to break it into the dry ingredients until the mixture looks sandy with small pieces throughout.
3. Add the warm water. Make a well in the center, pour in the warm water, and mix to combine. The dough should be thick. If there are dry or crumbly bits, add more water slowly by the drop until the dough comes together.
4. Knead and rest the dough. Knead briefly until the dough forms a ball. Cover with plastic wrap or a damp tea towel and let rest for 20–30 minutes. This helps the dough hydrate and makes it easier to roll. You can also refrigerate the dough (wrapped well) for up to 3 days.
5. Divide the dough. Dust a flat work surface with tapioca starch. Divide the dough into 4 equal pieces using a knife or bench scraper. Cover the pieces you’re not using so they don’t dry out.
6. Roll the dough. Working with one piece at a time, dust the dough and rolling pin with more tapioca starch. Roll until smooth. If the dough has visible cracks, gather it back together, dust again, and reroll until smoother.
7. Cut 8-inch circles. Roll the dough a little over 1/8-inch thick, then use a cake pan as a guide to measure your circle. Cut around it with a pizza cutter to make an 8-inch round. Repeat with the remaining pieces.
8. Save and reroll scraps. Gather scraps and set them aside while you shape the rest. Reroll the scraps together after you’ve worked through a few pieces. You should get up to 6 total 8-inch tortillas.
9. Heat the skillet. Heat a 10–12 inch cast-iron skillet (or nonstick skillet) over medium-high heat. It should be hot enough that a drop of water sizzles on contact.
10. Cook the tortillas. Place one tortilla in the hot skillet and cook until bubbles begin to form underneath (about 45 seconds). Flip and cook the second side until more bubbles form and the tortilla looks dry (about 30 seconds more).
11. Press and finish. As the tortilla cooks, gently press the top with a spatula to help it sear and puff in spots. If needed, flip back briefly to finish the first side.
12. Keep warm. Transfer cooked tortillas to a clean tea towel or tortilla warmer and keep covered while you cook the remaining tortillas.
Recipe Notes
Flour Blend Note
I made these with Bob’s Red Mill 1:1 Gluten Free Baking Flour. Different gluten-free blends absorb moisture differently, so you may need a few extra drops of warm water depending on the blend and your kitchen humidity.
Shortening Substitution Options
I used Chosen Foods Avocado Oil Shortening in this recipe. You can also use:
- Virgin coconut oil (same amount)
- Refined coconut oil (same amount, less coconut flavor)
- Vegetable shortening (same amount)
- Butter (same amount; not dairy-free)
Each fat can slightly change the flavor and texture, but the method stays the same.
Shaping Tip
A cake pan makes an easy guide for even circles, and a pizza cutter gives you quick, clean edges. Don’t stress if they aren’t perfect—rustic tortillas still taste amazing.
Make-Ahead Instructions
If you don’t plan to use the tortillas right away, keep them wrapped in a towel and place them in a plastic bag to help seal in moisture. They’re best served within a few hours.
To freeze, let the tortillas cool completely to room temperature. Stack, wrap tightly, and freeze until ready to use. Thaw at room temperature and refresh in a hot, dry skillet before serving.
Storage & Shelf Life
Store cooled tortillas in an airtight bag or container at room temperature for several hours, or refrigerate for 2–3 days for best texture.
For longer storage, freeze tightly wrapped tortillas for up to 2 months. Reheat in a dry skillet to bring back softness and flexibility.
Little Hands Tip: Kids can help count dough pieces, dust with tapioca starch, or help trace the circle guide before you cut.