
Gluten-Free Artisan Sourdough Loaf
Gluten-Free Artisan Sourdough Loaf
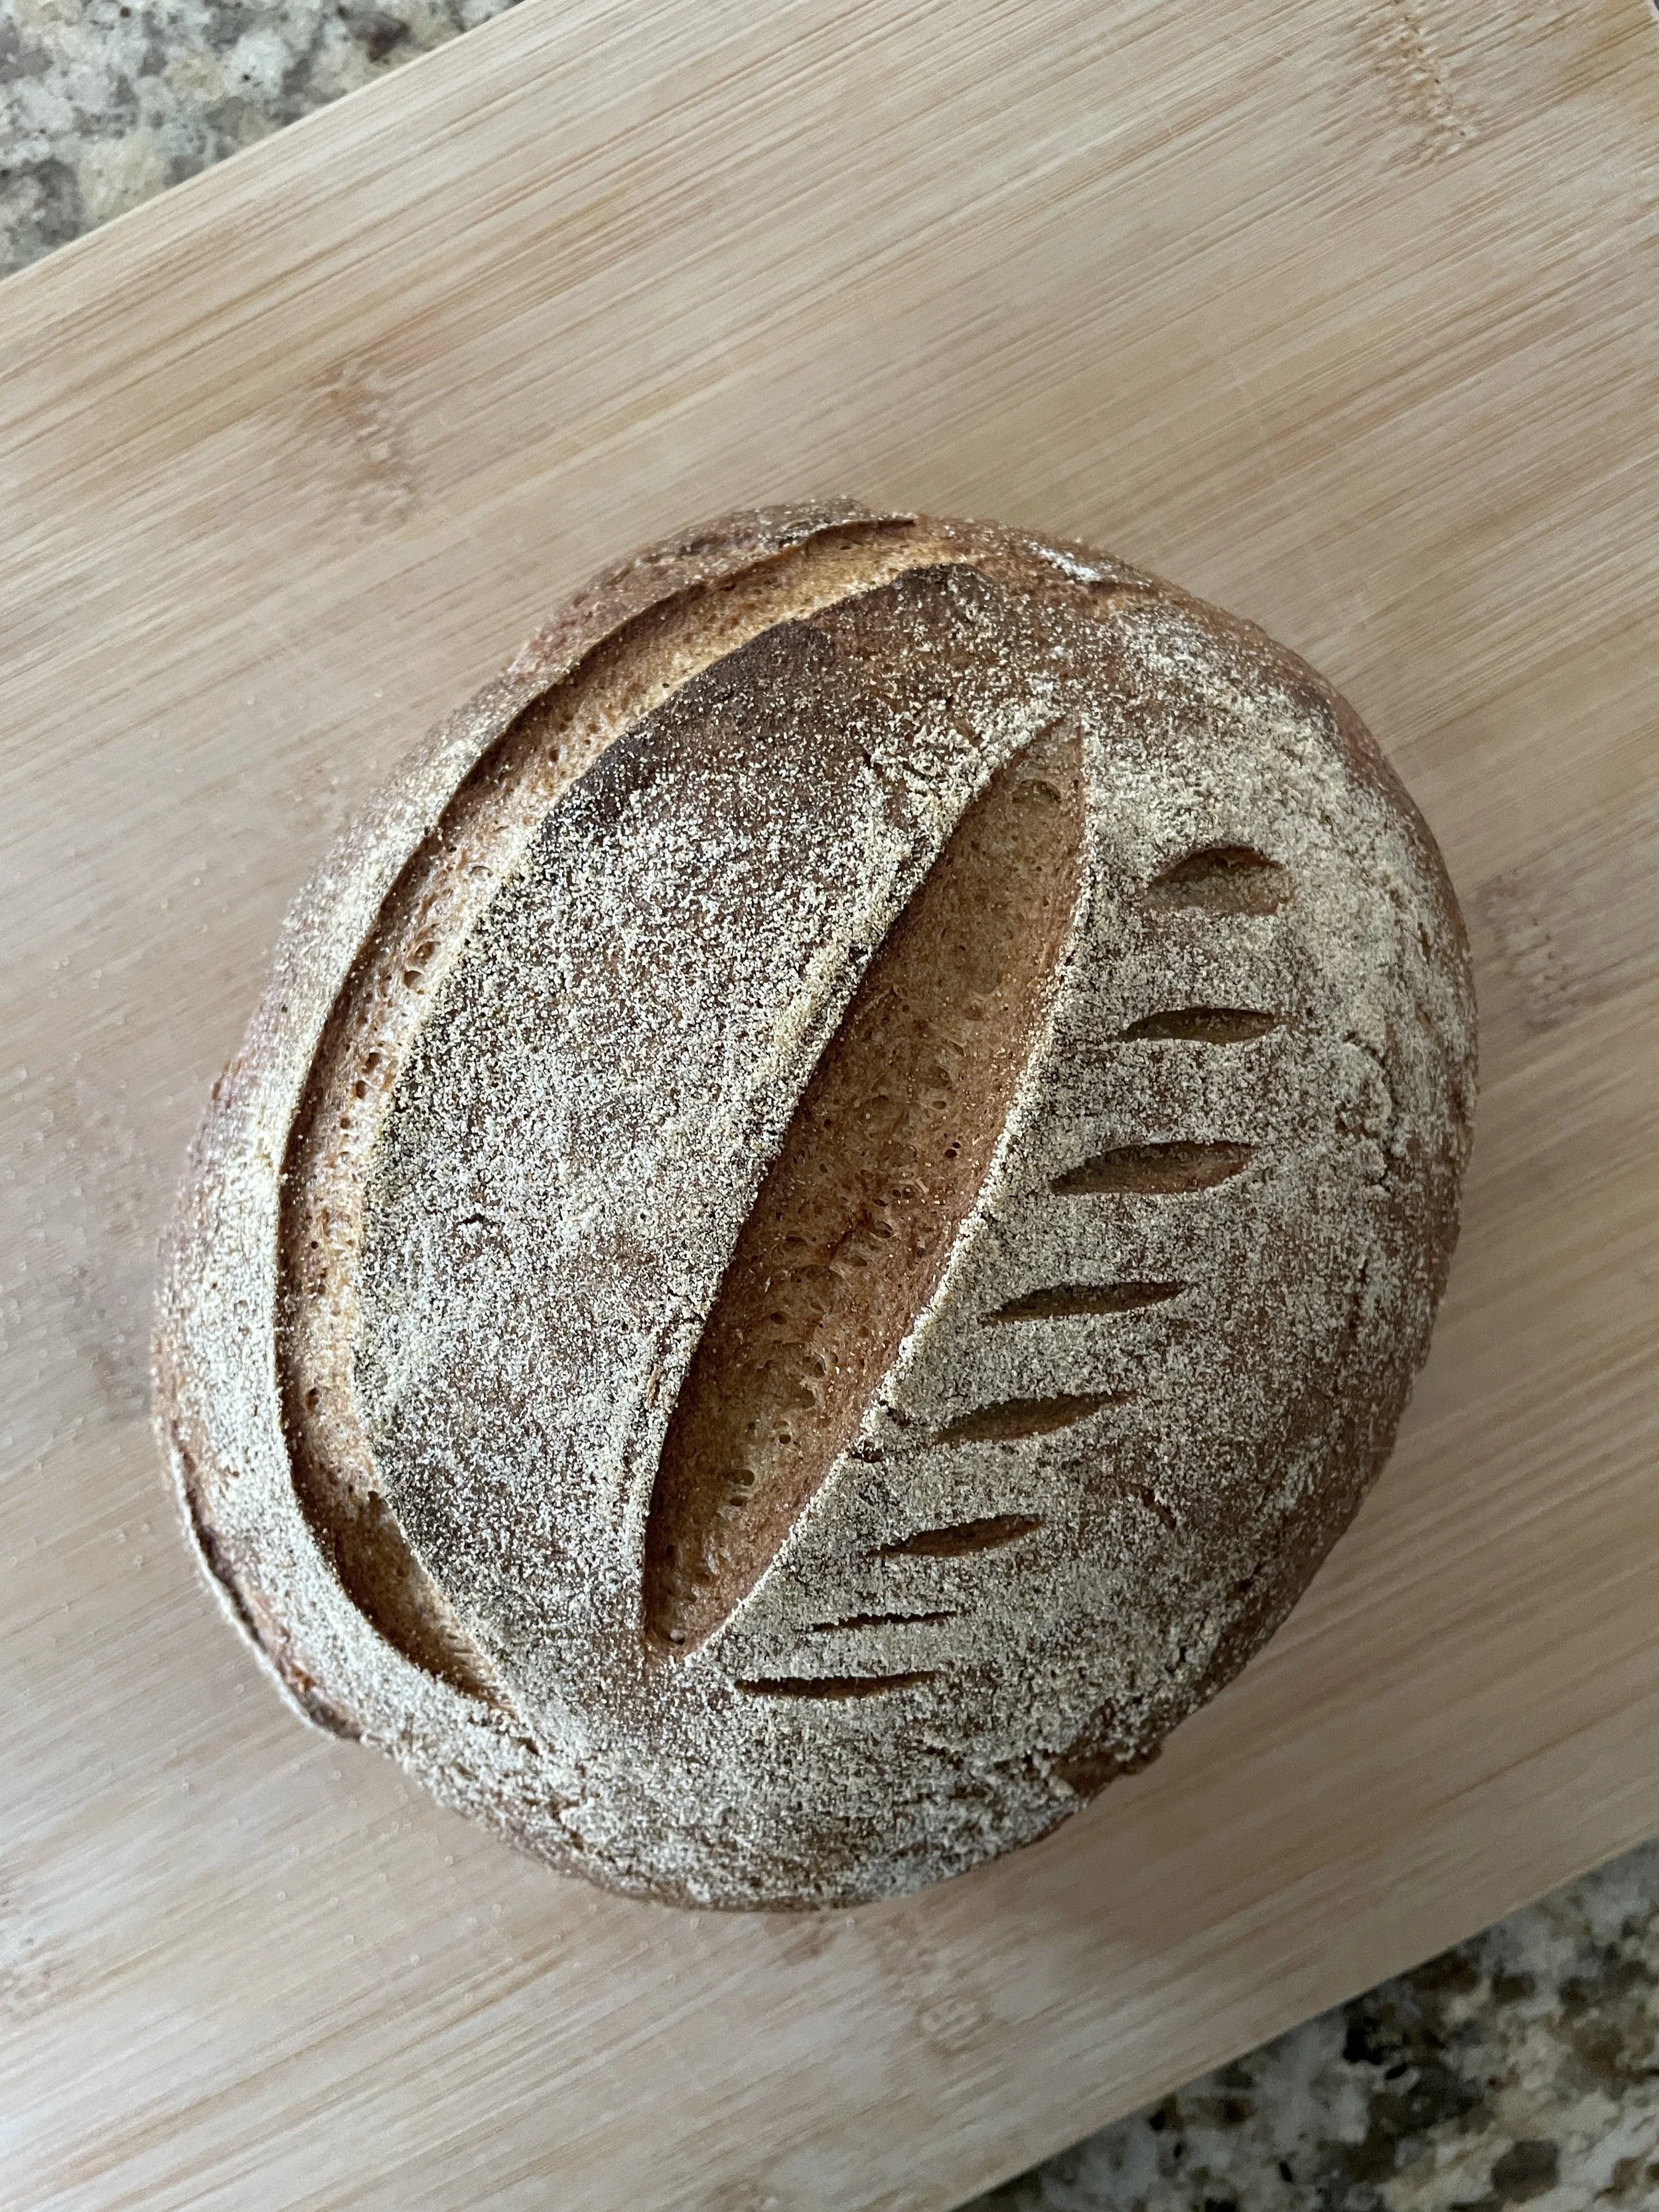
Soft-crumb, naturally leavened GF sourdough with a crisp crust—built on a bubbly levain, psyllium gel, and a long, flavorful proof.
This loaf bakes up with a tender, sliceable crumb and crackly crust—no wheat required. The psyllium gel replaces gluten’s structure so you can proof longer, score cleanly, and get that artisan look (and taste) at home.
- Digital Kitchen Scale: Precision matters in sourdough—grams = consistent results.
- Banneton Basket: Supports the dough during proofing for a taller, prettier loaf.
- Cast-Iron Skillet or Dutch Oven: Traps steam for maximum oven spring and a blistered crust.
- Psyllium Husk Powder: The GF secret to structure, chew, and clean slices.
Pro tip: Bake it dark. Deep browning = better flavor and a sturdier crust that keeps its crunch.
Ingredients
Levain
- 60 g active sourdough starter
- 120 g water
- 60 g brown rice flour
- 30 g millet flour
- 30 g sorghum flour
Bread Dough
- 325 g water
- 22 g psyllium husk powder
- 300 g ripe levain
- 15 g olive oil
- 20 g honey
- 90 g sorghum flour
- 60 g brown rice flour
- 60 g millet flour
- 50 g potato starch
- 40 g tapioca starch
- 10 g fine sea salt
Directions
Build the Levain
- Weigh 60 g active sourdough starter into a clean jar, add 120 g water, and whisk to combine.
- Add 60 g brown rice flour, 30 g millet flour, and 30 g sorghum flour. Mix until smooth with no dry bits. Cover loosely and ferment at room temp 6–8 hours, until bubbly and peaking.
Make the Dough
- Whisk 325 g water and 22 g psyllium husk powder vigorously until fully hydrated; a gel forms within 15–30 seconds. Let stand 10 minutes.
- In a stand mixer bowl, combine 90 g sorghum flour, 60 g brown rice flour, 60 g millet flour, 50 g potato starch, 40 g tapioca starch, and 10 g sea salt.
- To the psyllium gel, add 300 g ripe levain, 15 g olive oil, and 20 g honey; mix to combine.
- Add the wet mixture to the dry ingredients. Using the dough hook, mix 5–10 minutes until smooth, pausing to scrape the bowl so no dry patches remain. Dough should be moist, smooth, and slightly bouncy—not sticky.
- Lightly oil the counter and your hands. Gently knead and shape the dough to fit your banneton, folding edges toward the center and rotating as you go. Flip seam-side down and tighten with a gentle spin.
- Dust the banneton with brown rice flour. Place dough seam-side up, cover with a damp tea towel, and proof: either 3–5 hours warm, or ~1 hour warm then refrigerate 8–12 hours. To prevent drying in the fridge, place the banneton in a reusable plastic bag.
- About 1 hour before baking, place a cast-iron skillet on the lower-middle rack and preheat the oven to 450°F (232°C).
- Turn the dough out onto parchment. Brush off excess flour. Dust with white rice flour to smooth the surface, then score as desired.
- Carefully set the dough (on the parchment) into the preheated cast-iron skillet. Place a baking sheet on the bottom rack. Return the skillet to the oven, pour boiling water into the hot lower tray, and close the door immediately.
- Bake with steam for 25 minutes. Remove the water tray and continue baking 40–45 minutes more, until deeply browned.
- Transfer to a wire rack and cool completely, about 2 hours, before slicing.
Storage & Shelf Life
Best within 2 days. Store in a bread box, paper bag, or wrapped in a tea towel for 3–4 days (by days 3–4, toast for best texture). I highly recommend freezing sliced loaf 3–6 months for toast-and-go.
Make-Ahead: You can cold-proof up to 18–24 hours for deeper flavor—just bake straight from the fridge.
Color Cue: If the loaf browns too quickly, tent loosely with foil and continue baking.